Lately I came up with an idea to frame a few of my photos and hang them on a wall. I bought a rather cheap but good enough frame in IKEA, but there was one issue. The mat included with the frame was supposed to frame single image. Because I wanted to create a triptych, I needed to create my own mat. So here’s a quick note on what I did. Just don’t treat it as a tutorial as I did this for the first time in my life 🙂
So, what tools did I used?
- Simple paper knife
- Mat cutter which allows cutting at 45 degrees
- A long ruler, preferably made of metal
- Matting paper, of course
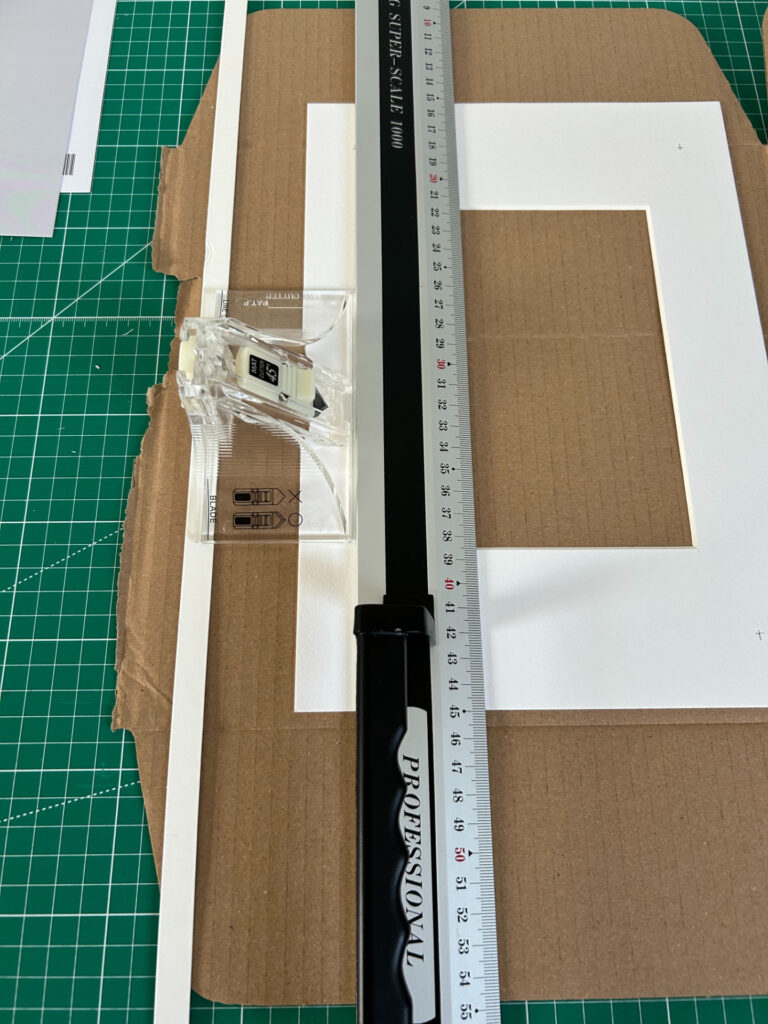
First of all I cut matting paper to size of my frame inner dimensions. In this case it was easier, because I used original mat provided with the frame as a guide. I used a ruler and simple paper knife for that.
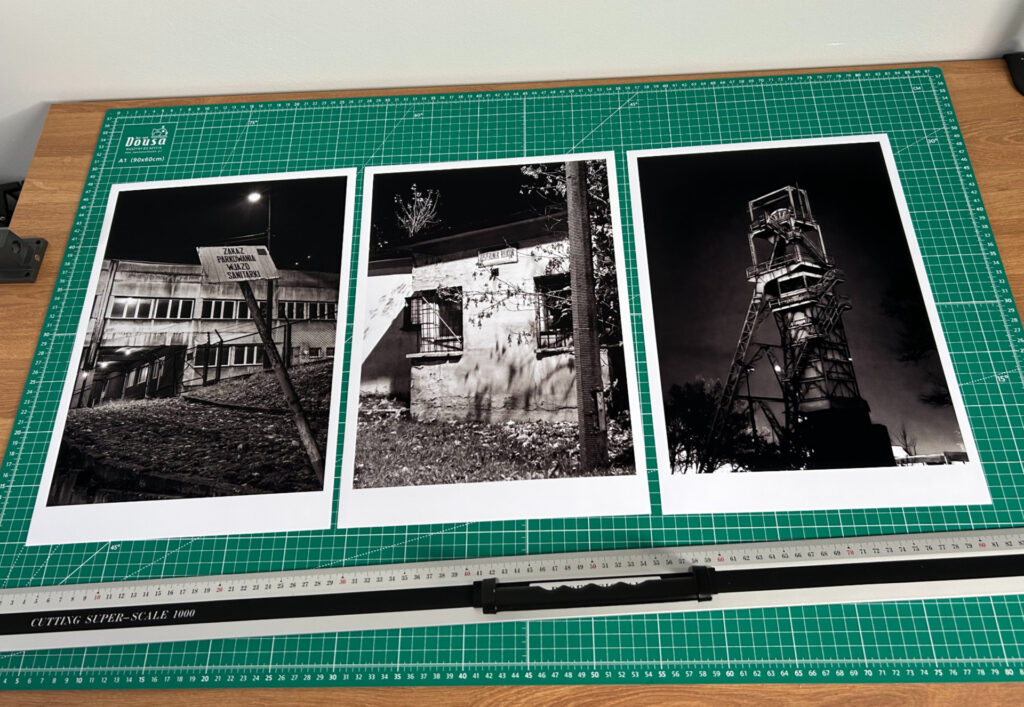
Then I decided what size photos I want to use, printed them, and cropped paper to size so it was slightly bigger than holes in the mat will be (about 1cm each side). Of course when printing photos I set them to be a few millimeters bigger, so it will be easier to align them in place.
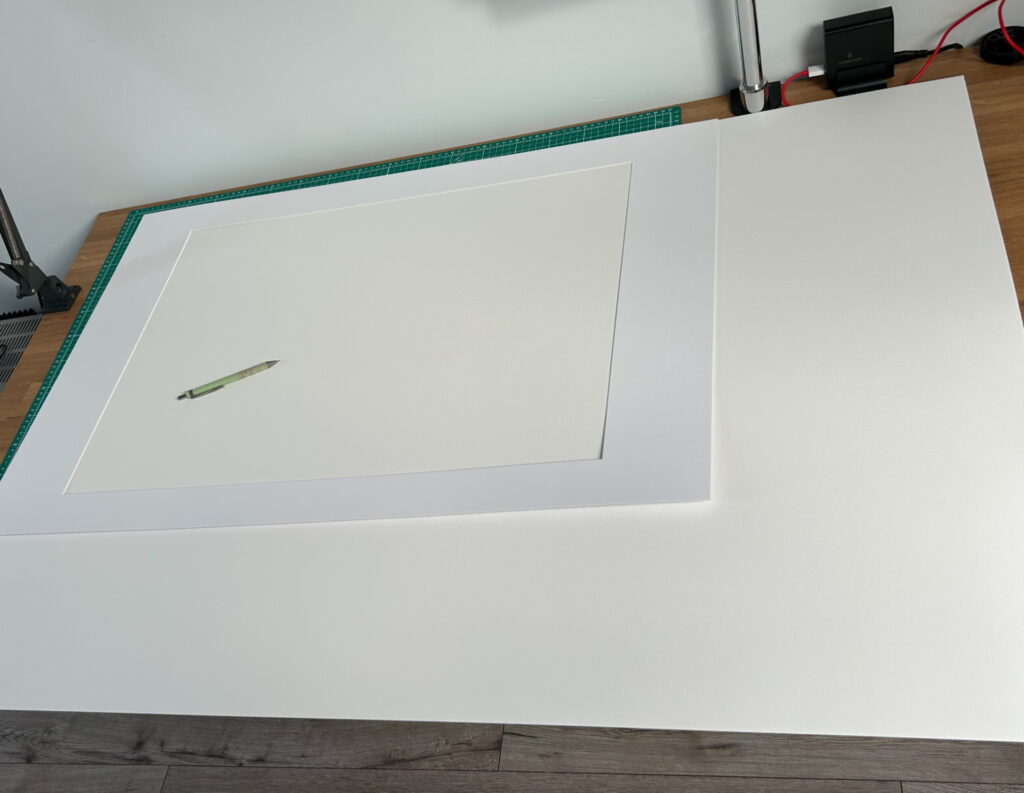
Next I marked parts of mat to be cut out using pencil and cut them out. I used mat cutter for that, so cuts are made at 45 degrees. Just remember to cut in the correct direction and on correct side, so cut “slopes” will be visible. Also when cutting at angle, “inner” size of the hole where the photo is visible will be slightly smaller than “outer” size – the lines that you start the cut. It’s obvious, but it’s easy to forget.
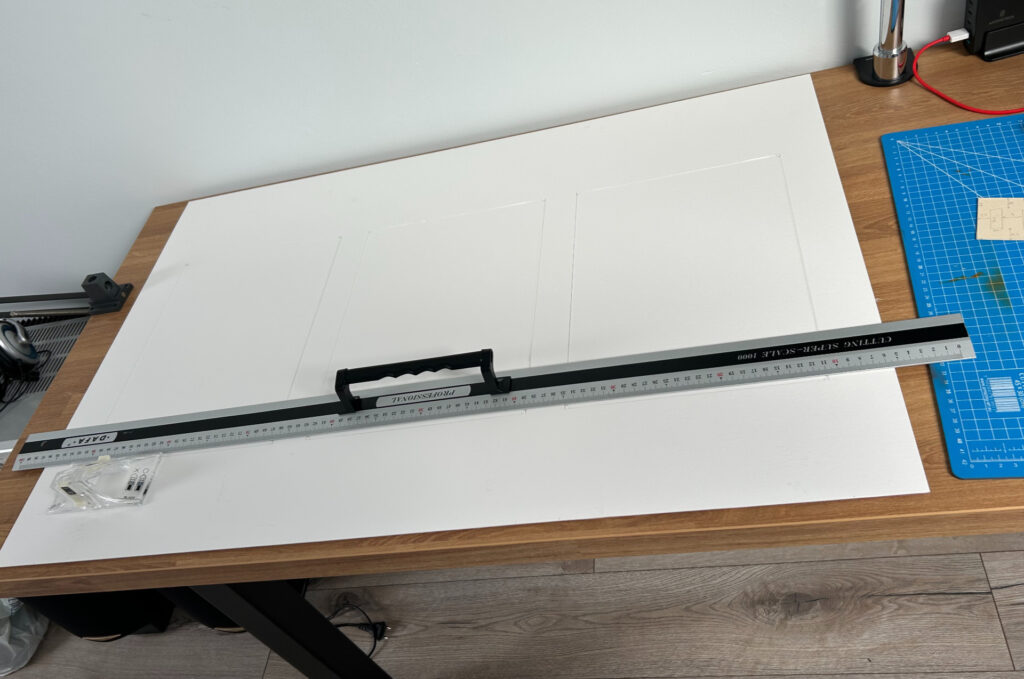
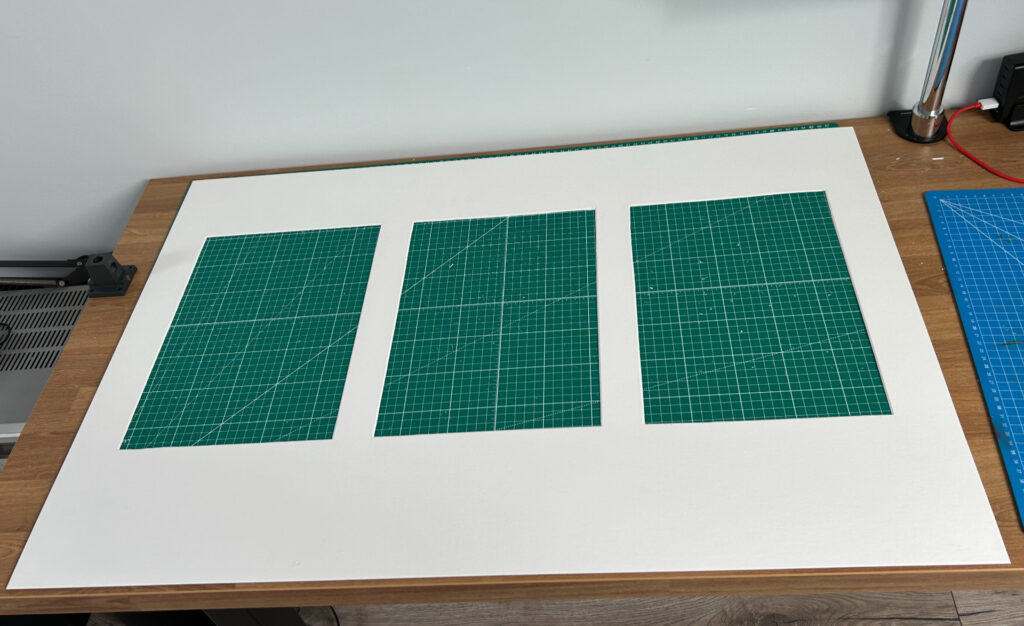
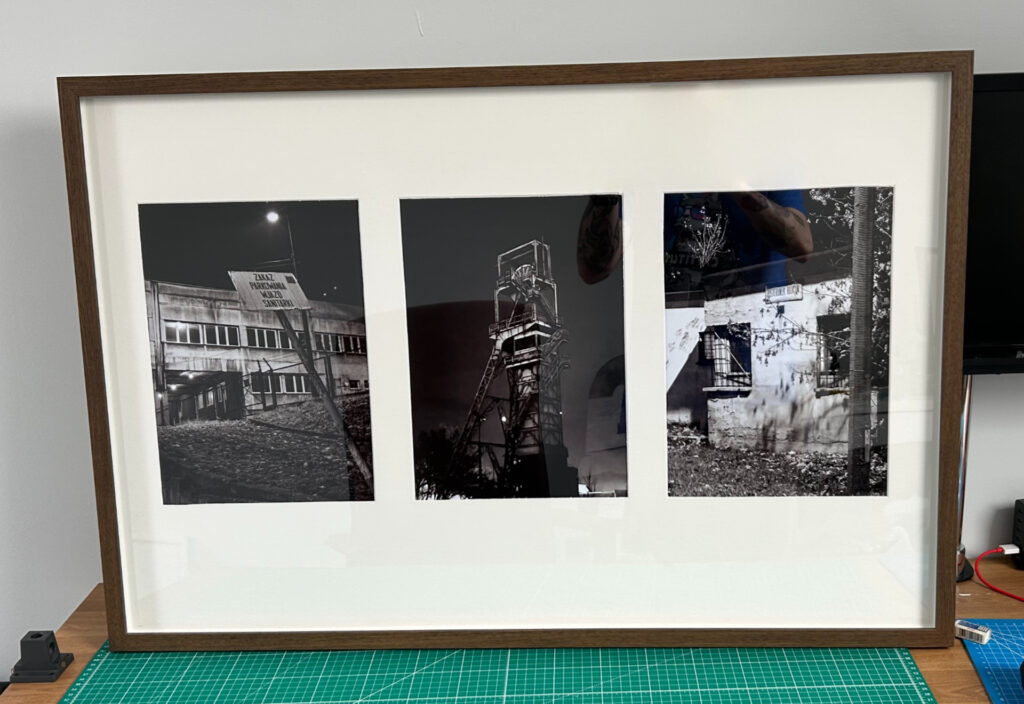
And just like that we have our mat cut out. Now it’s just a matter of placing the photographs on the bottom side of the mat and taping them in place. Here’s the result:
Now, to finish this post, a few notes to self. Just to remember…
- Don’t rush when cutting, it’s fairly easy to make a crooked line even when using a ruler as a guide
- It’s much better to make 5 shallow cuts than 1 deep one
- My mat cutter makes 45 degree cut 4 millimeters inward from its edge. If you want to cut 20mm from the paper edge, you need to place ruler 24mm from paper edge, etc.
- Mat cutter’s knife is really fragile and it gets destroyed by typical cutting mat. Use cardboard instead
- When cutting near the paper’s edge, use additional scrap of paper so mat cutter is level