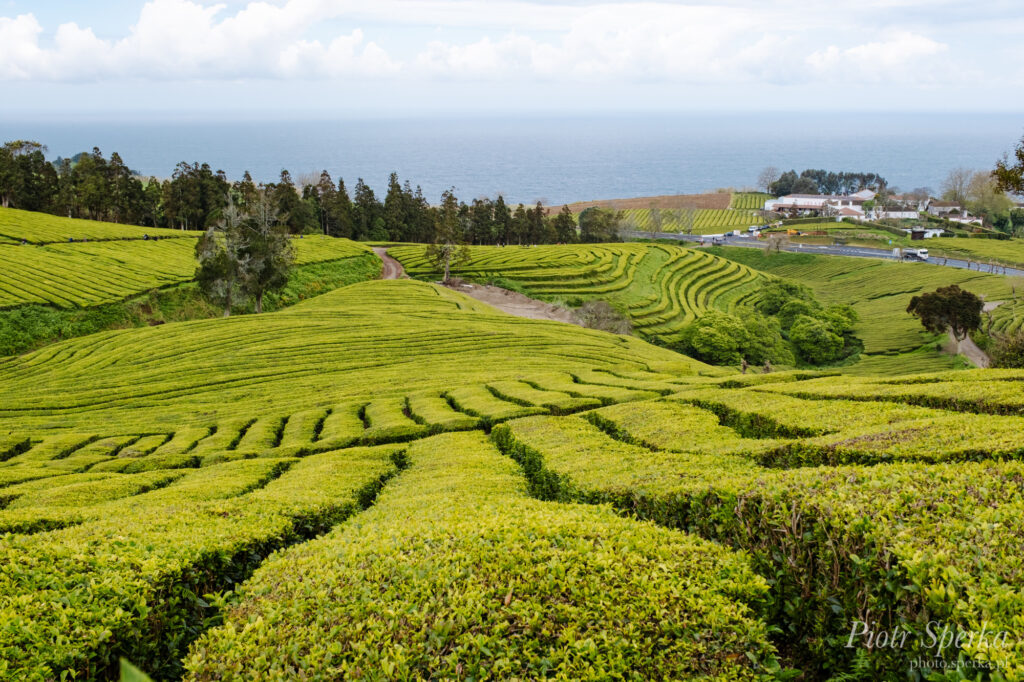
I took this photo on the first day of my Azorean trip. It was a rare moment during that day when we could see a bit of blue sky. This made the tea leaves look a really deep yellowish green color and created a nice contrast to the ocean.
I took this photo on the first day of my Azorean trip. It was a rare moment during that day when we could see a bit of blue sky. This made the tea leaves look a really deep yellowish green color and created a nice contrast to the ocean.
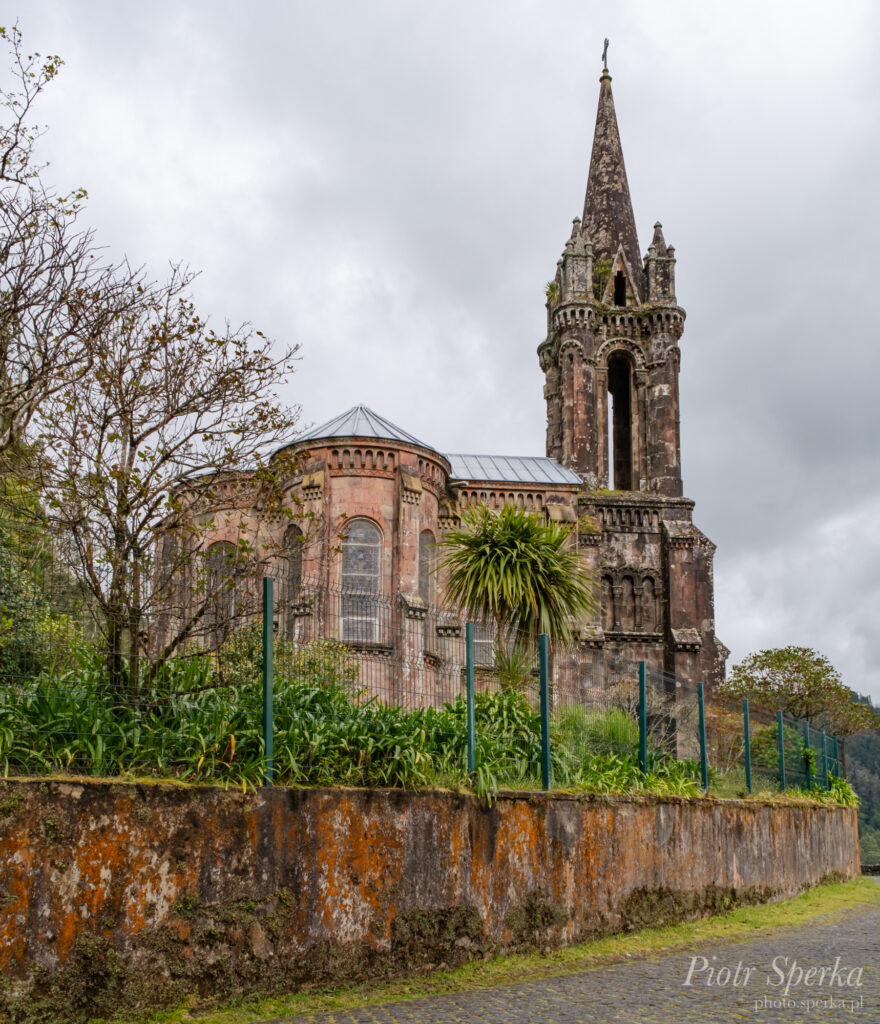
The next photo from my summer trip to São Miguel island in May 2025. This is a beautiful old chapel. The walls and the roof are covered with moss and other small plants, which only adds to feeling of its age.
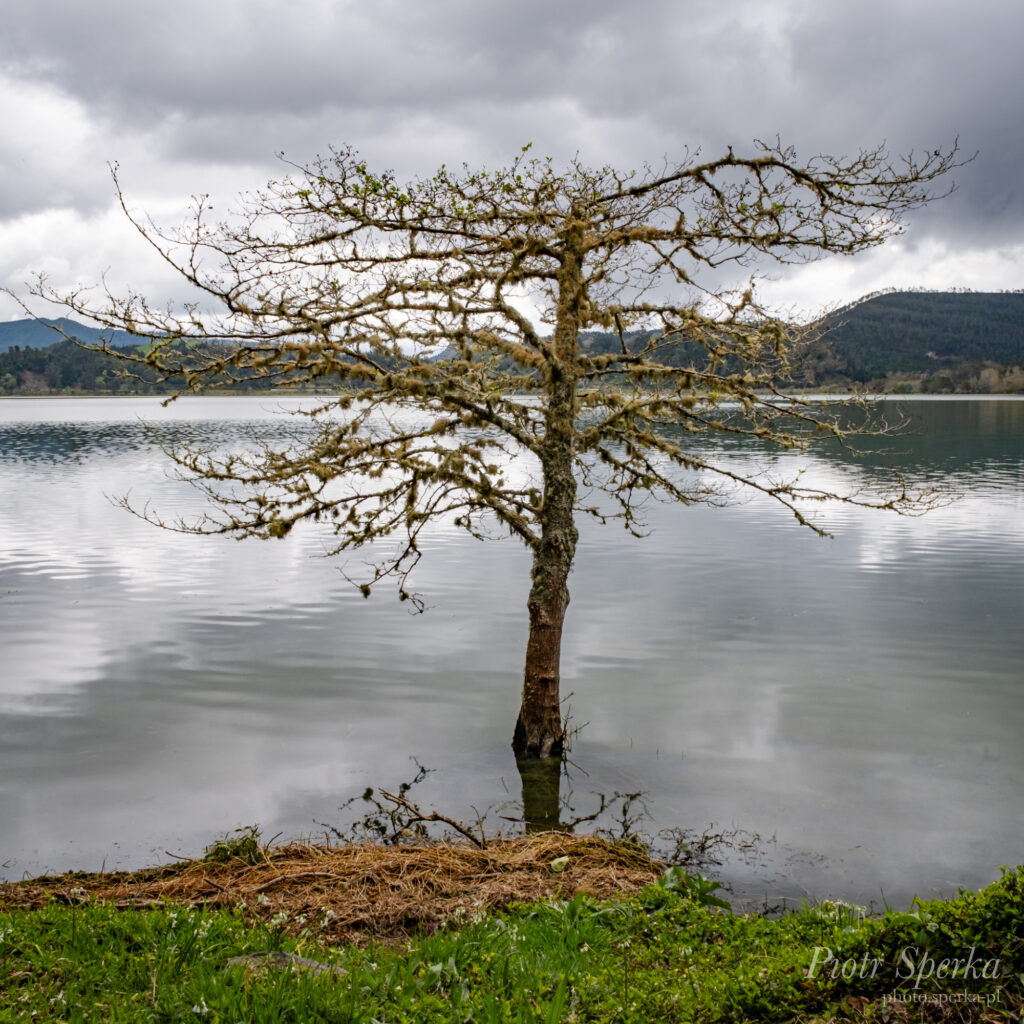
This is the second photo from my 2025 Azorean trip. This one was taken during the walk around the Lagoa das Furnas lake.
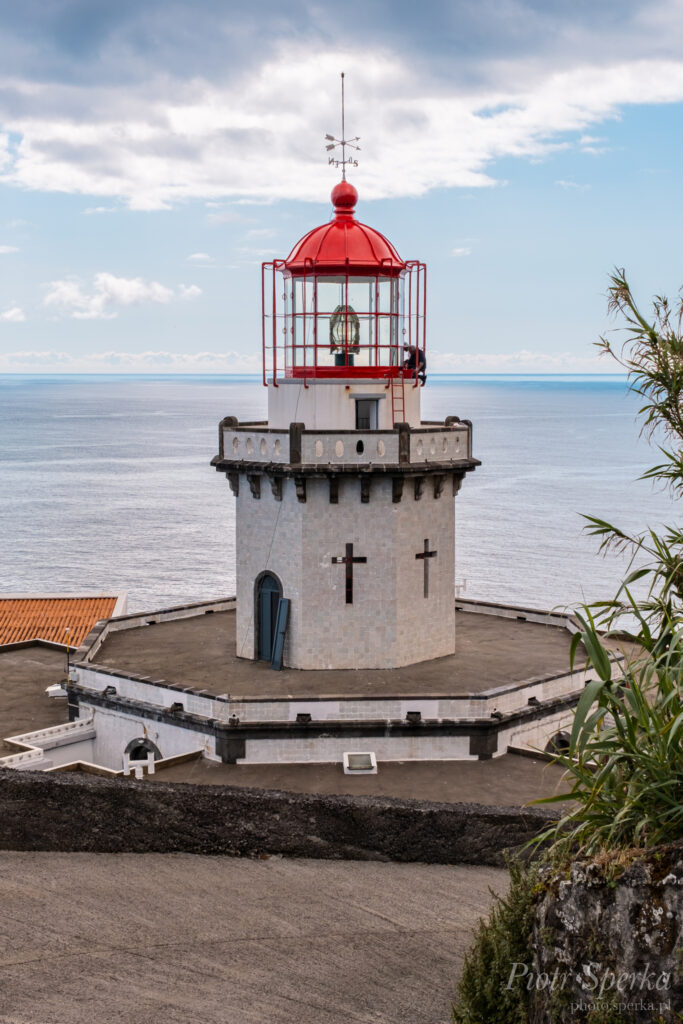
In May of this year, I went to the Azores with a couple of friends. We were visiting the São Miguel island and among many stunning views, we’ve seen this beautiful lighthouse – Farol do Arnel.
This is the first of a few photos from this trip I will be sharing, so stay tuned.
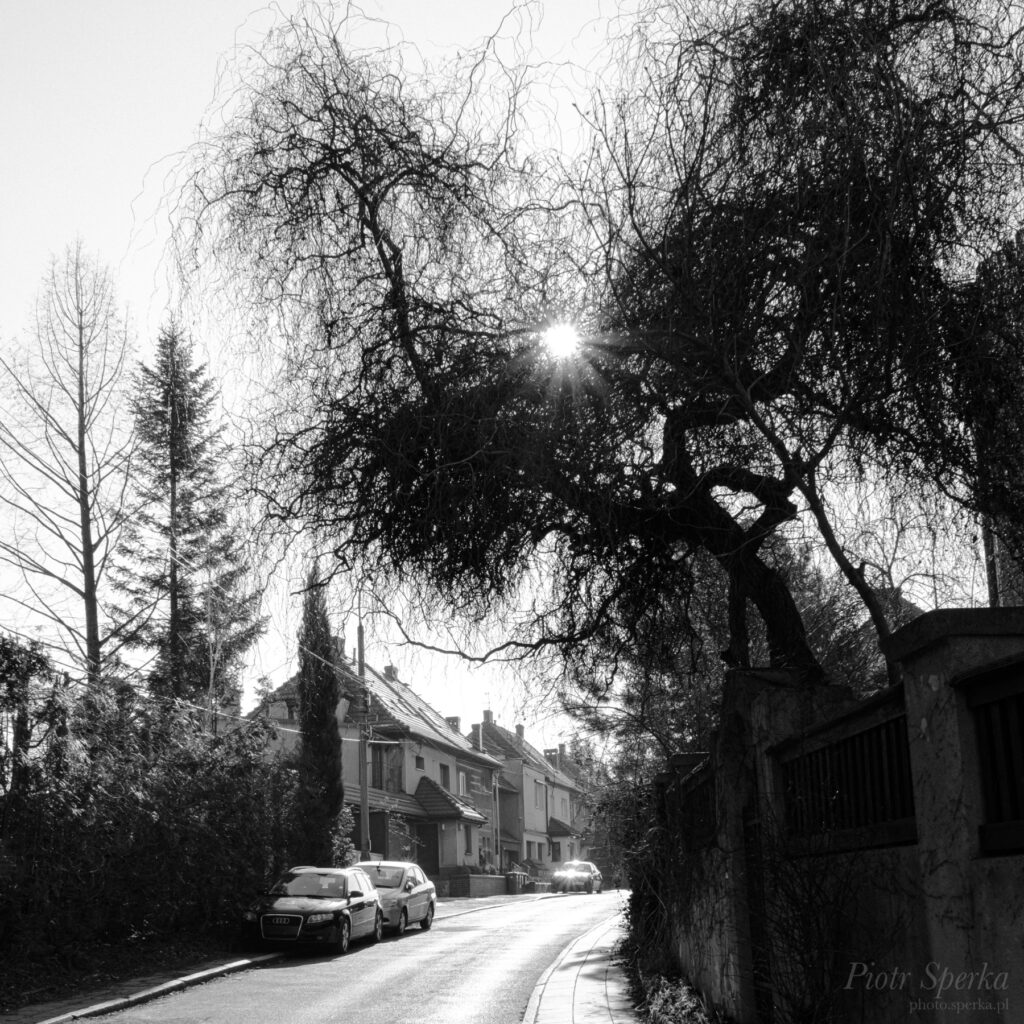
I found this interestingly shaped tree on the Bolesława Prusa street in Gliwice during a casual walk in February, 2025.
The whole street, besides it’s in the city centre, feels very nice and calm. What initially caught my attention was the sun shining through the very thin branches of the currently leafless tree (it’s winter, obviously).
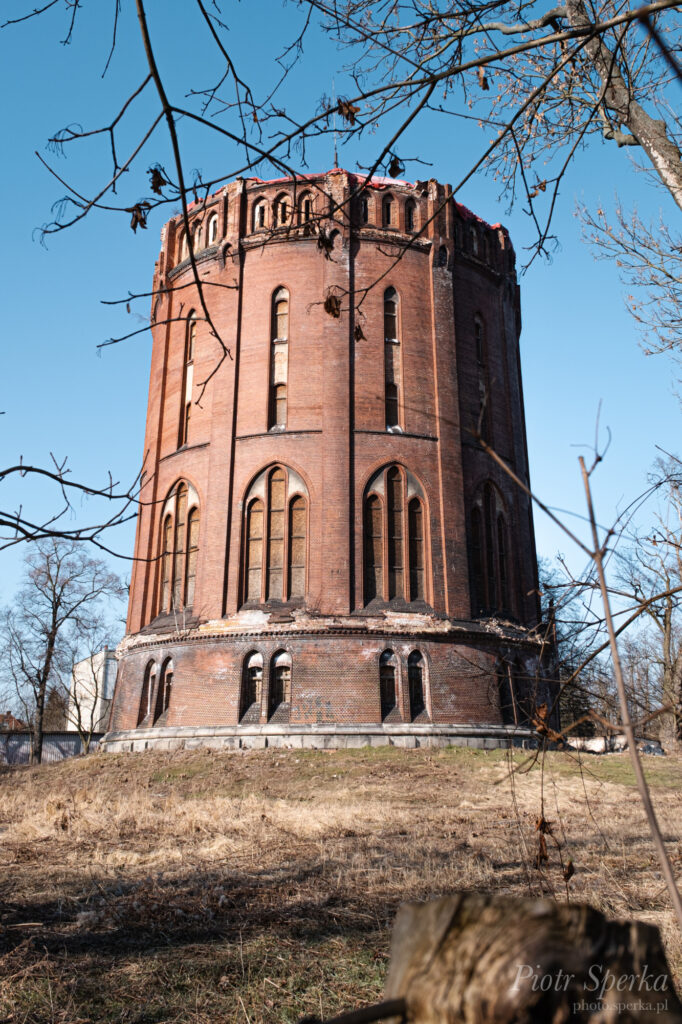
This water tower is located on the Jana III Sobieskiego street in Gliwice. It was built probably in the early XX century and is one of the few still existing water towers in Gliwice.
I took this photo during a nice walk at the end of February, 2025. I hope this building will be taken care of. It looks nice and uniquely in the neighborhood where most of the buildings are houses probably from similar period.
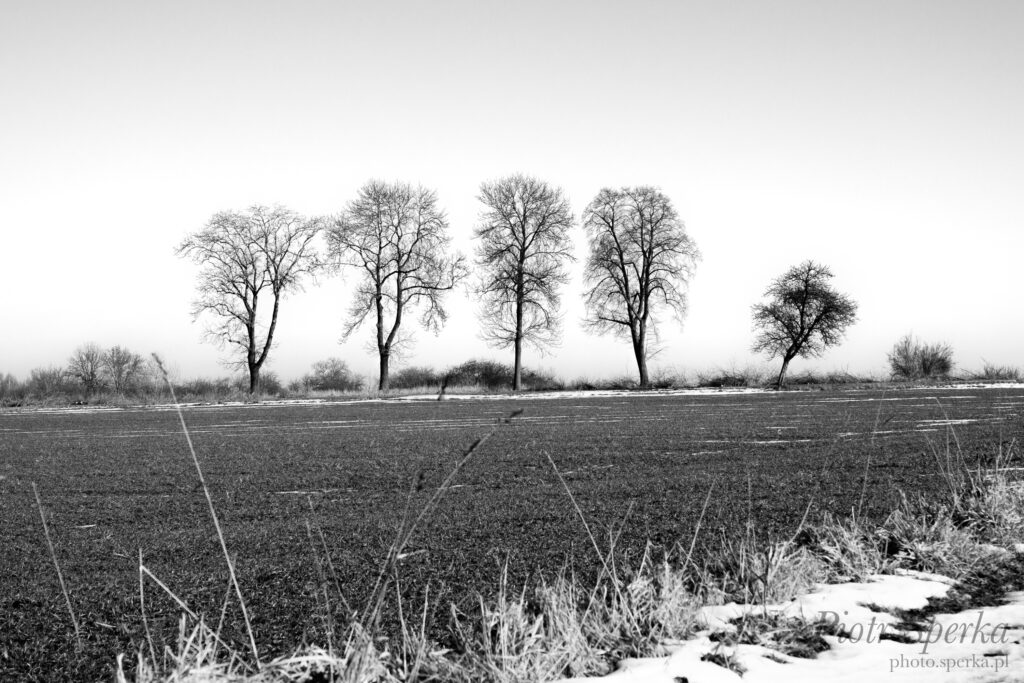
A couple of weeks ago I shot trees growing along the road, so here they are. That day the weather was very nice. The sky was crystal clear and there still were some remains of snow. I was lucky to have time to go out during those few days we had snow during the 2024/2025 winter. Because of that the leafless trees make a nice contrast to the clear sky, and muddy path is not so muddy because of the snow.
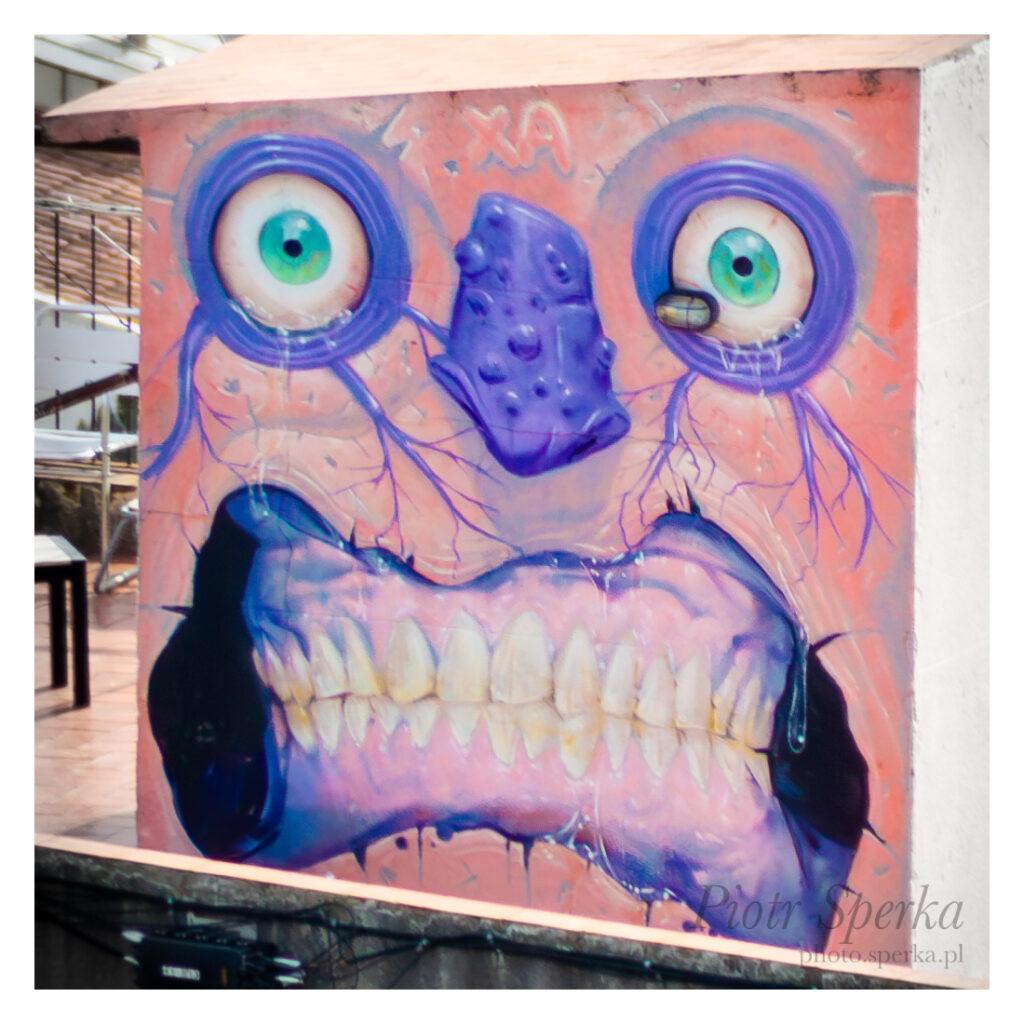
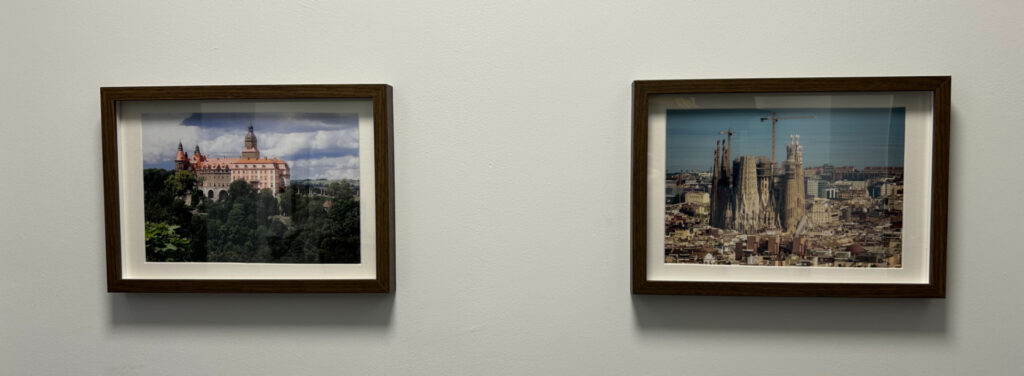
This one’s a blast from the past. Maybe not a very ancient past, but certainly a pre-pandemic past. In spring 2018 I went for a few days to Barcelona with a couple of friends. At some point, we went up the hill where there was a beautiful view of part of the city and the sea. Besides the usual stuff, this was what brought my attention to one of the building’s rooftop.
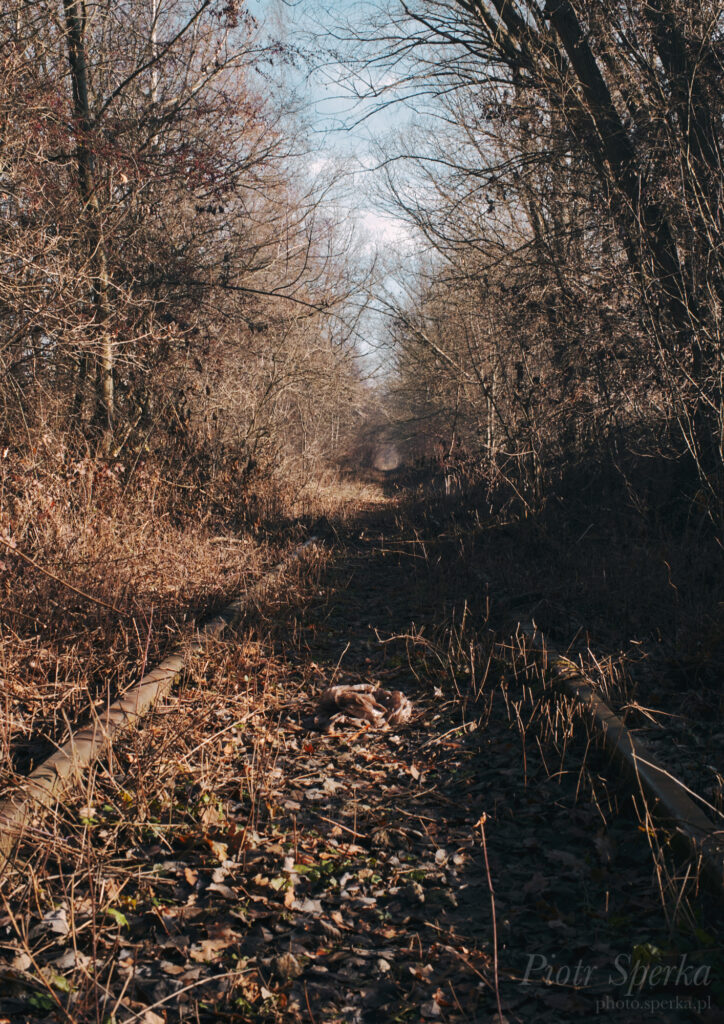
The old railroad tracks I found on a walk near my house. They lead to a nearby coal mine site which is currently not used (or barely used). I don’t know when they were used the last time, but it couldn’t be very long time ago. While they are overgrown and rusty, you can still see the tunnel in the trees where the train used to fit.
When I took the photo it was winter, but the weather was more like it was the beginning of autumn. I think that orangish-brown shades in the surroundings nicely fit with the old tracks, creating a monochromatic composition.
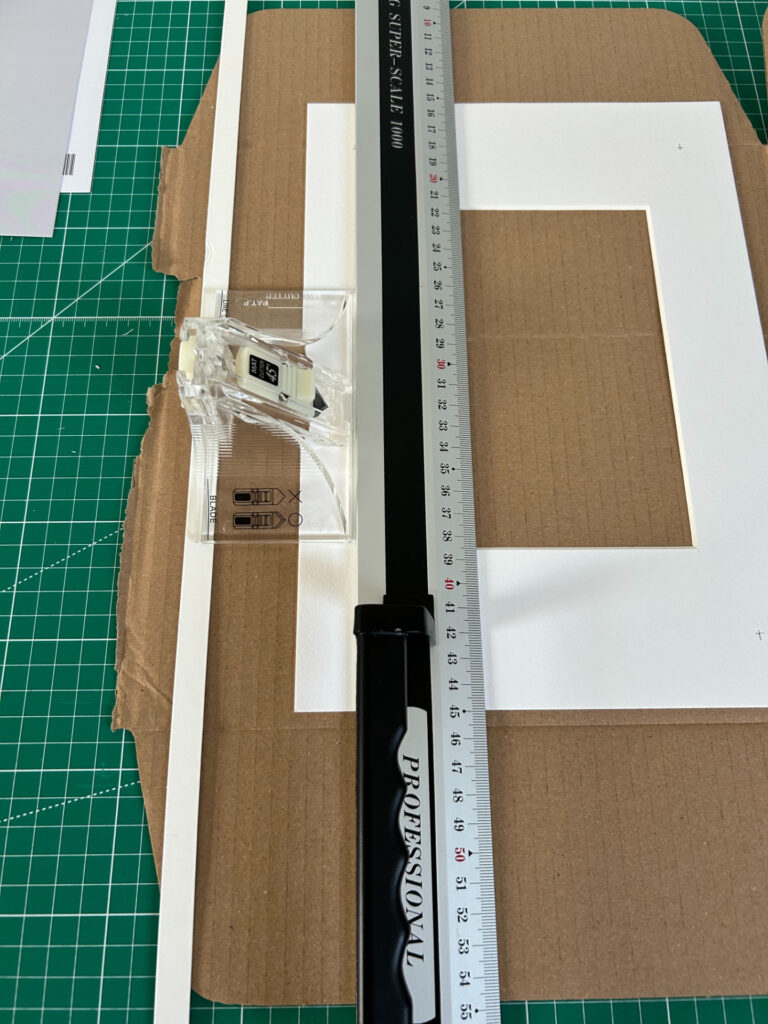
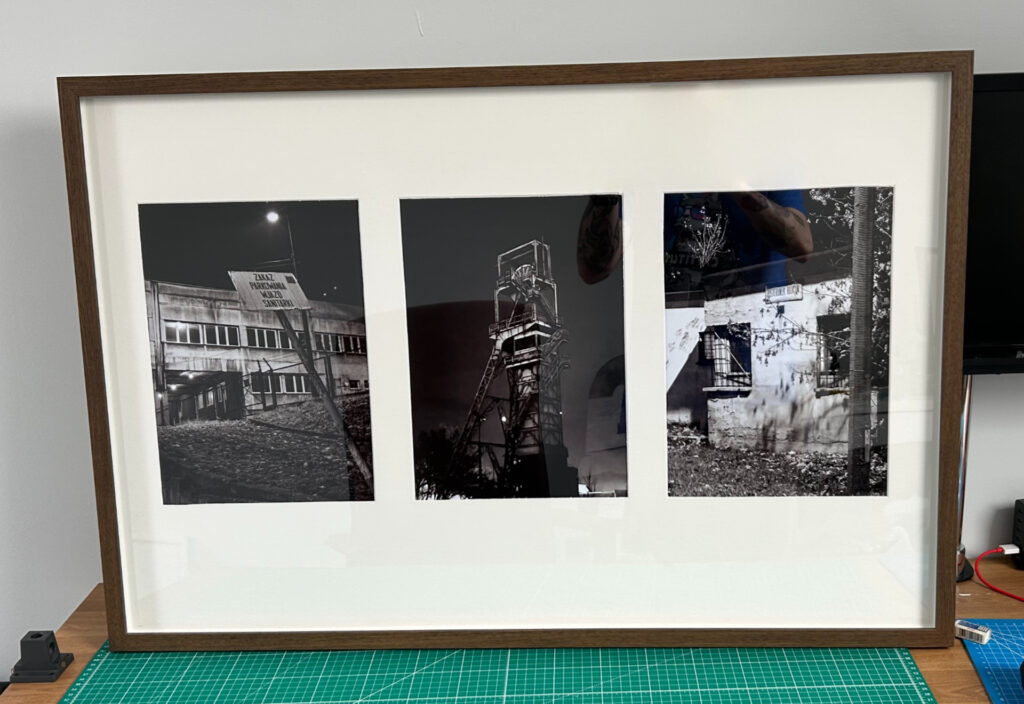
Lately I came up with an idea to frame a few of my photos and hang them on a wall. I bought a rather cheap but good enough frame in IKEA, but there was one issue. The mat included with the frame was supposed to frame single image. Because I wanted to create a triptych, I needed to create my own mat. So here’s a quick note on what I did. Just don’t treat it as a tutorial as I did this for the first time in my life 🙂
So, what tools did I used?
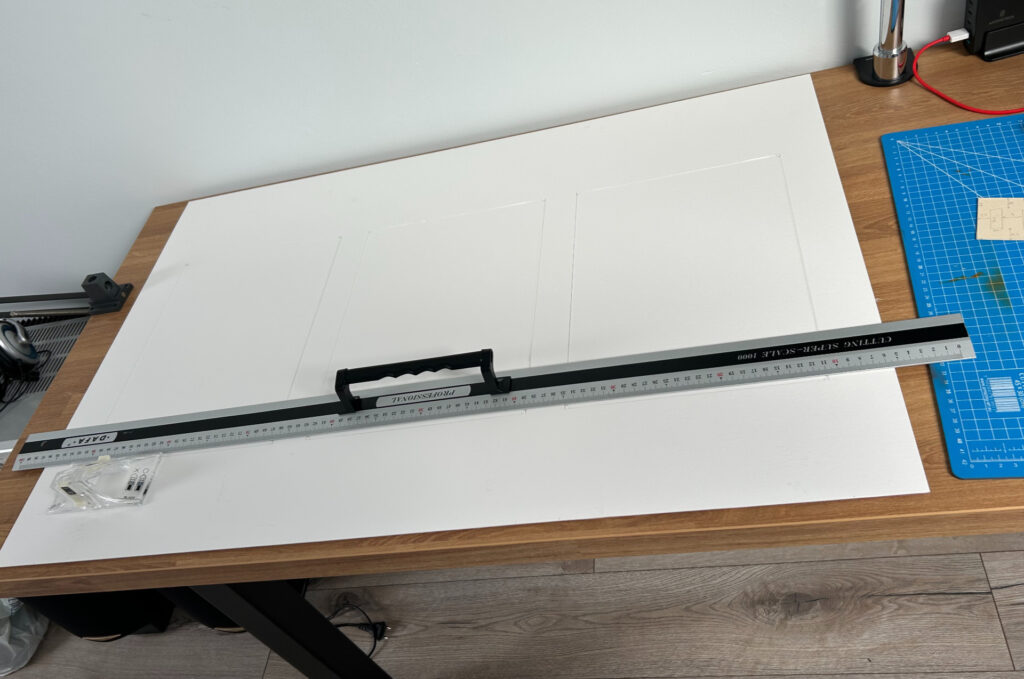
First of all I cut matting paper to size of my frame inner dimensions. In this case it was easier, because I used original mat provided with the frame as a guide. I used a ruler and simple paper knife for that.
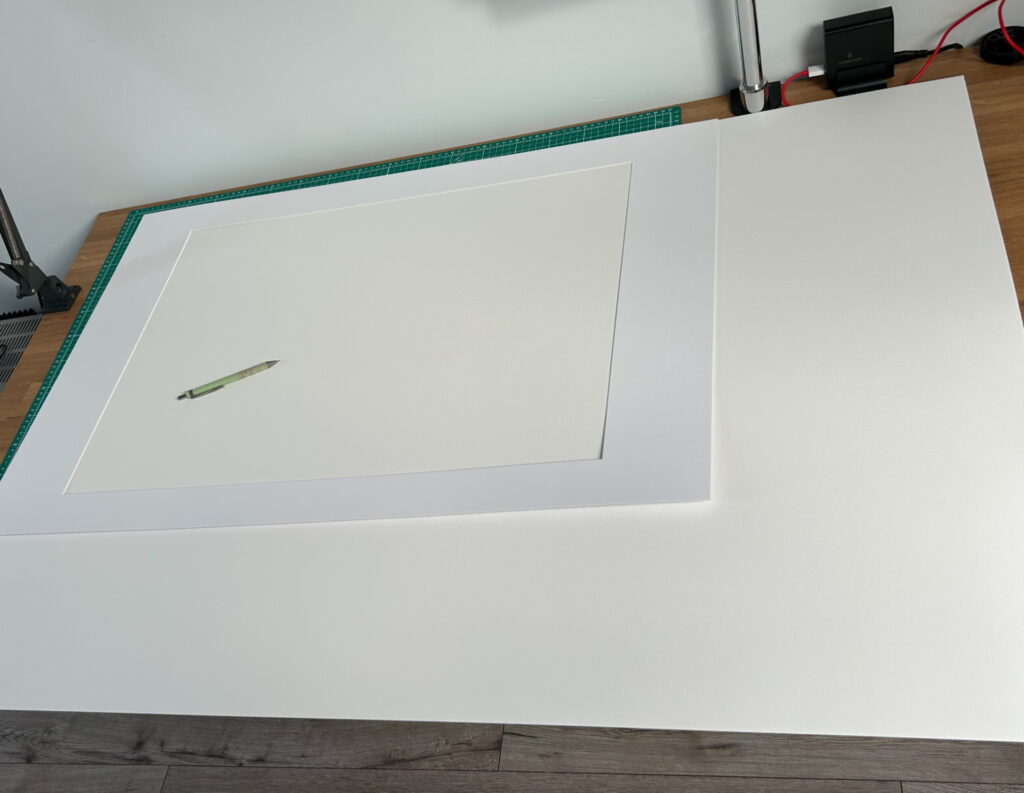
Then I decided what size photos I want to use, printed them, and cropped paper to size so it was slightly bigger than holes in the mat will be (about 1cm each side). Of course when printing photos I set them to be a few millimeters bigger, so it will be easier to align them in place.
Next I marked parts of mat to be cut out using pencil and cut them out. I used mat cutter for that, so cuts are made at 45 degrees. Just remember to cut in the correct direction and on correct side, so cut “slopes” will be visible. Also when cutting at angle, “inner” size of the hole where the photo is visible will be slightly smaller than “outer” size – the lines that you start the cut. It’s obvious, but it’s easy to forget.
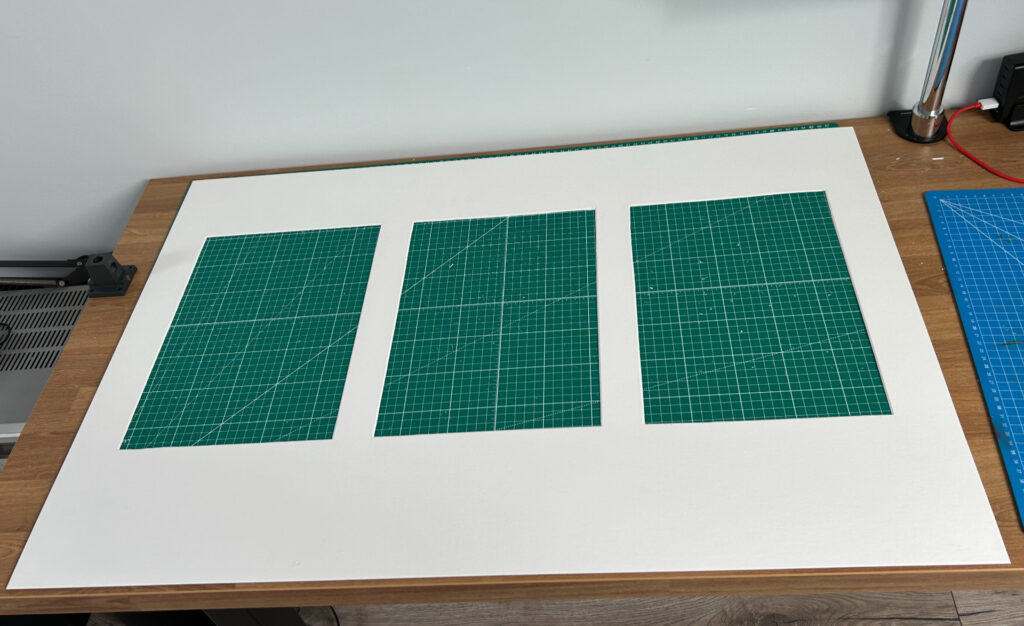
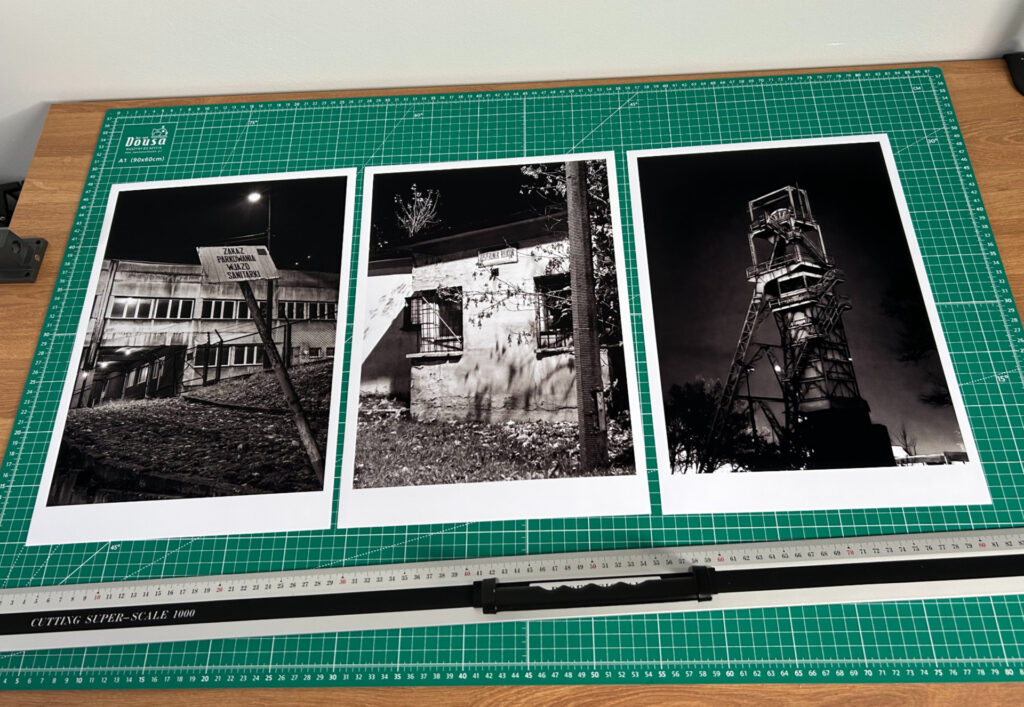
And just like that we have our mat cut out. Now it’s just a matter of placing the photographs on the bottom side of the mat and taping them in place. Here’s the result:
Now, to finish this post, a few notes to self. Just to remember…